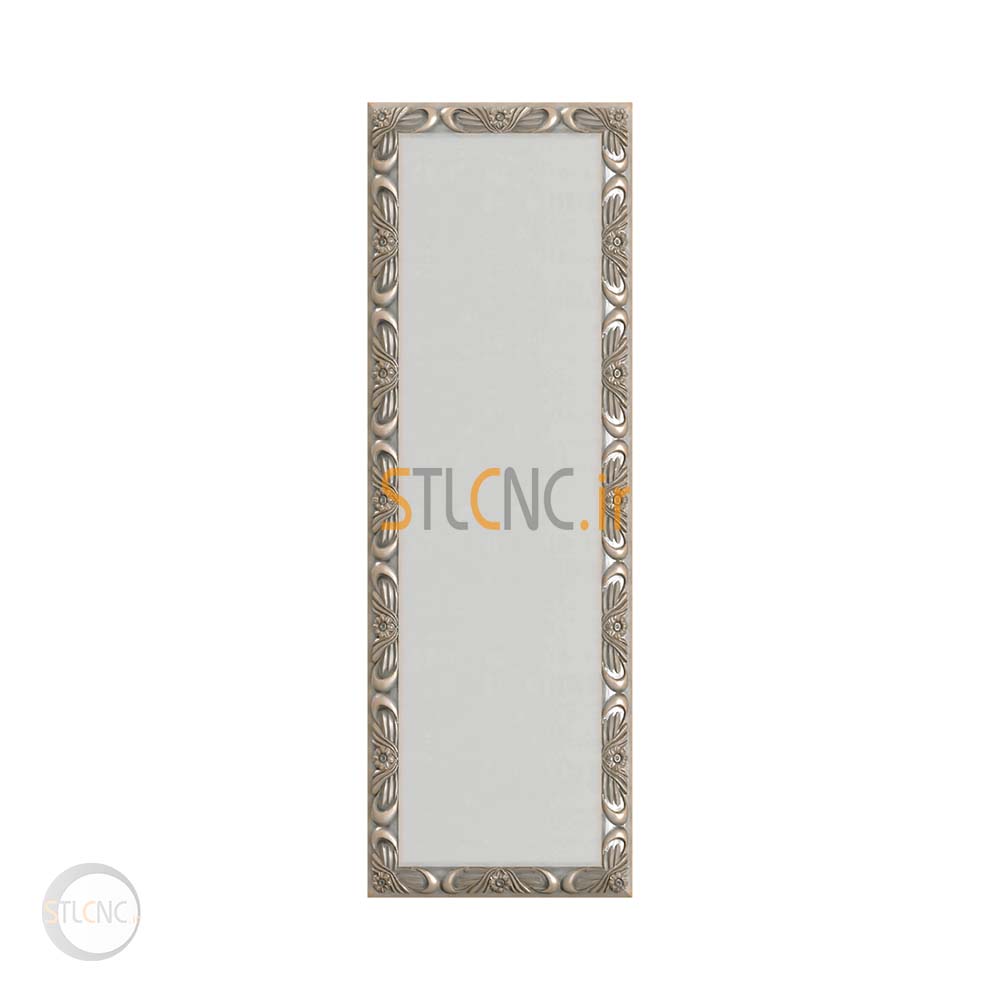
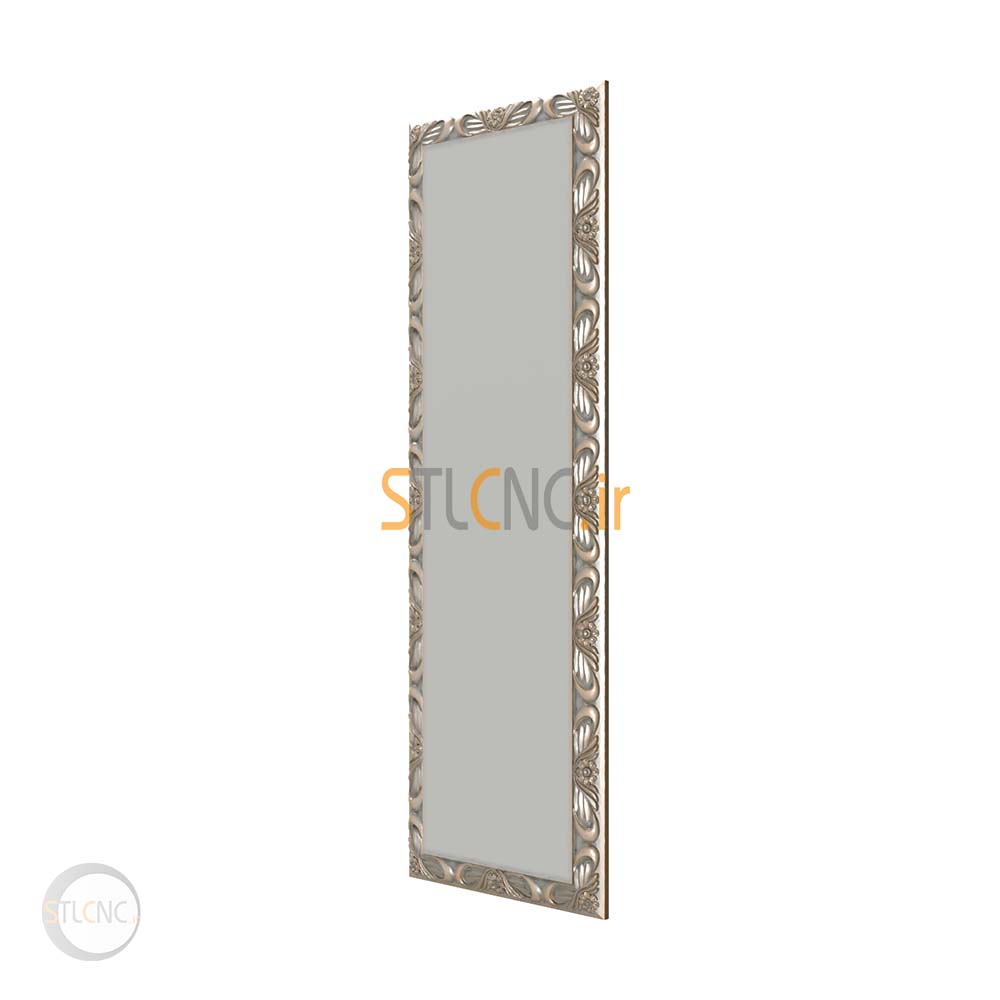
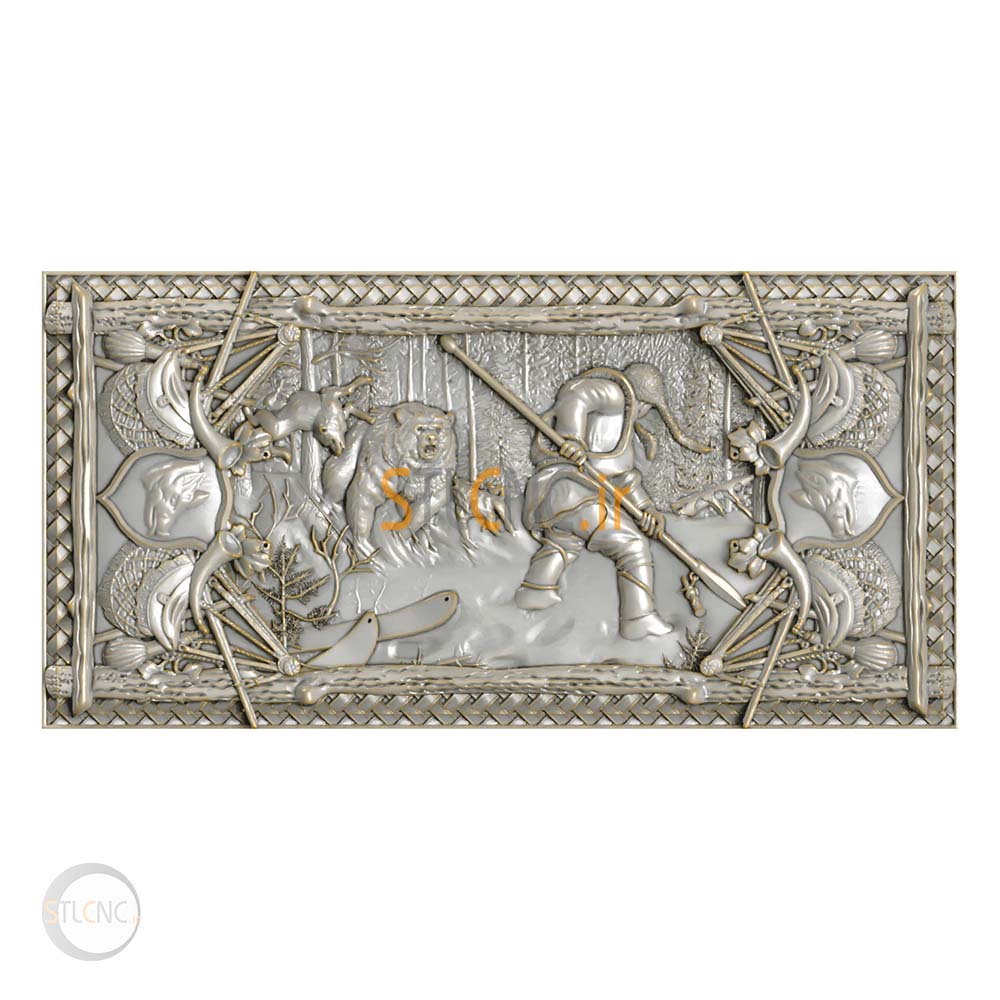
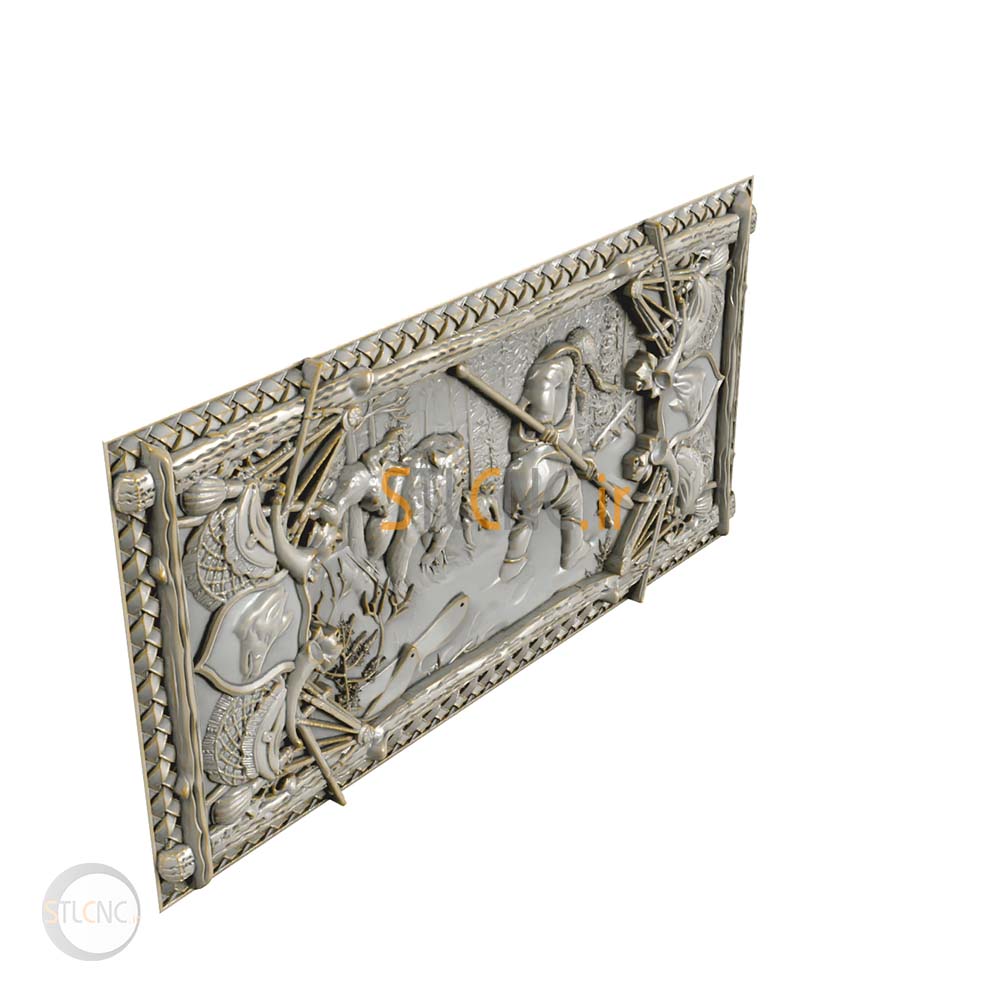
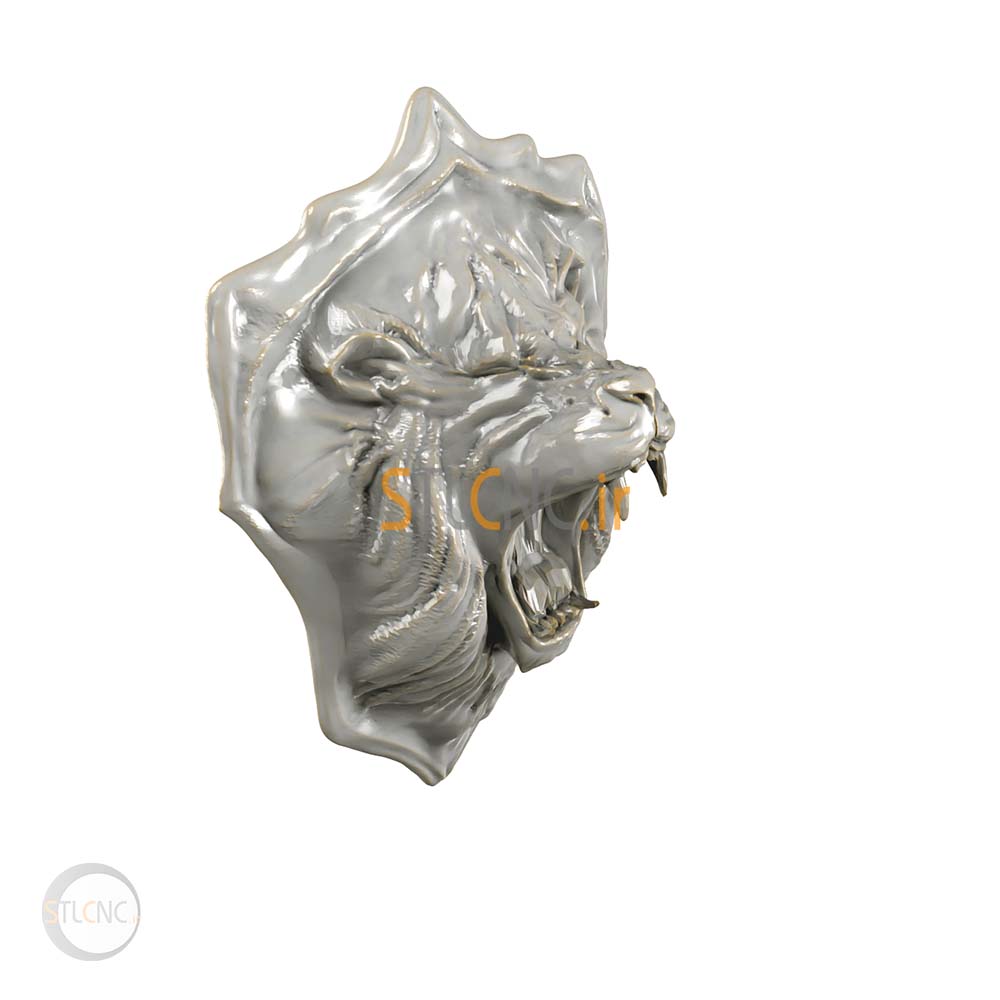
Inlaid tombstone TOM-100
$10
After making an online payment, you will promptly receive the direct download link for the 3D file of this design.
| File format | STL |
| Ready to G-Code? | Yes |
| 3D printable? | Editing is required before printing. |
| Editable? | Yes, there is a need for software expertise. |
| STL file size | 18 MB |
| Dimensions | X=333 Y=22 Z=1000 |
| Mesh triangles | 375584 |
| Mesh Vertices | 1126752 |
Site introduction:
We are a trusted online store dedicated to providing a wide range of Tombstone 3D Models STL files specifically designed for 3d file stl . You’ll find an array of options to suit your needs.
This STL files are ready to be transformed into precise G-code for seamless CNC production. At stlcnc.ir, we prioritize quality and accuracy. Each 3D file in our inventory undergoes meticulous testing and validation to ensure optimal performance.
Our team of experienced designers and engineers work tirelessly to create files that are not only visually appealing but also optimized for CNC machining. With our user-friendly platform, finding the perfect 3D file for your project is a breeze.
Simply browse through our extensive catalog, filter by category or keyword, and discover a world of possibilities. We also offer customization options, allowing you to tailor the files to your specific requirements.
Customer satisfaction is our top priority. We strive to provide a seamless shopping experience, offering secure payment options and prompt customer support. Our dedicated team is always ready to assist you with any queries or concerns you may have.
So why wait? Unlock the potential of your CNC machine with our top-notch 3D STL files. Start making your G-code dreams a reality!
About Tombstone 3D Models:
Are you intrigued by the rich history and artistic significance of tombstones? Our Tombstone 3D Models offers a captivating glimpse into the art and production of these timeless memorials. Tombstones have long served as powerful symbols of remembrance and tribute.
From classic and ornate to modern and minimalist, there’s something to suit every taste and preference. Immerse yourself in the artistry and craftsmanship that goes into creating these enduring symbols of memory. But our collection goes beyond mere aesthetics.
Our Tombstone 3D Models also serve as valuable resources for those involved in the production and manufacturing of tombstones. This knowledge can be invaluable when it comes to designing and producing your own personalized memorials.
We strive to capture the essence of each historical era and artistic style, ensuring an authentic and immersive experience.
Useful information about 3d file stl:
In this short guide, we’ll explore the process of generating G-code from 3D STL files, empowering you to unleash the full potential of your CNC machine.
Step 1: Choose the Right Software To begin, you’ll need a reliable software program that can convert your 3D STL files into G-code. There are several options available, such as Powermill, Artcam, and Rhinocam. Select the one that best suits your needs and install it on your computer.
Step 2: Import Your STL File Once you have the software installed, open it and import your 3D STL file. This file contains all the necessary information about your design, including its shape, dimensions, and intricate details.
Step 3: Configure the Settings Next, you’ll need to configure the settings to ensure optimal results. This includes specifying the material you’ll be using, the cutting tools, and the desired level of precision. Take your time to adjust these settings according to your project requirements.
Step 4: Generate the Toolpath With the settings in place, it’s time to generate the toolpath. This process involves the software analyzing your 3D model and creating a series of instructions that your CNC machine will follow. These instructions, known as G-code, dictate the movement and actions of the machine. Step 5: Review and Optimize Before proceeding, it’s crucial to review the generated G-code. Take a close look at the toolpath to ensure it aligns with your design intent. Make any necessary adjustments or optimizations to achieve the desired outcome.
Step 6: Save and Load the G-code Once you’re satisfied with the G-code, save it to a file format compatible with your CNC machine. Common formats include .nc, .tap, or .gcode. Transfer the file to your machine or load it onto a USB drive for easy access during the machining process.
Step 7: Execute the G-code Now, it’s time to let your CNC machine do its magic! Load the material onto the machine, secure it in place, and follow the manufacturer’s instructions for setting up the job. Use the machine’s control panel or software interface to execute the G-code and watch as your design takes shape.
By following these steps, you can confidently generate G-code from your 3D STL files, enabling you to create intricate and precise objects with your CNC machine. Remember to always prioritize safety and consult the documentation provided by your software and machine manufacturers for specific instructions.
| CNC Type | 3-Axis |
|---|---|
| Overall Shape | Rectangle |
| Quality | Medium |
Related products
Ancients and Signs
Backgammon
Backgammon
Backgammon
Tombstone
Backgammon

